In order to start building your first cross-platform React Native application with Expo you need to install the NodeJs. You can go to the official website of NodeJS and download the installer and then install it.
Once you are done with the installation, you can open your terminal(Windows, Mac, Linux) and type the following command
node --version
npm --version
npx --version
It will give you the version of the NodeJS that you have installed. It will give the version of node, npm, and npx respectively. In case you get the error saying the command is not recognized make sure you following the NodeJS installation properly. Now with this, you can create your first React Native app with the following command
npx create-expo-app app_nameMake sure you replace the app_name with the name of the app that you want to build. It will take some time to create and download all the required packages. Once it is done you will see a folder name with the app_name you provided. Go inside that folder and you can run the following command
npx expo start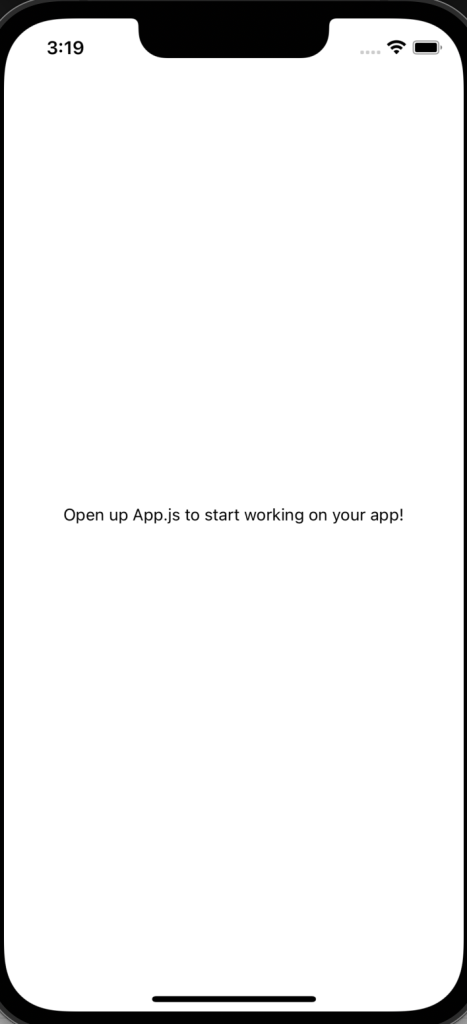
Now you have to download the expo client on your mobile phone and then scan the QR code that is inside the terminal. You can scroll up the terminal in case you are not able to see the QR code. In order to load the application make sure both the phone and your machine are connected to the same network otherwise you will get the blue screen network error in your phone. Now in order to overcome this you can use the following command in case your phone and machine are on different networks.
npx expo start --tunnelWith this, you should be able to create React Native app and run it. Now if you want to learn more about what we just did above you can continue reading further.
Benefits of cross-platform mobile application development
If you want to target a wider range of audiences then you have to develop the app for both iOS and Android applications. This can be done by writing native code for individual platforms. You can use Java or Kotlin to write native Android applications and Swift or Objective-C for iOS. You see that you have to create two separate codebases for the same application. Therefore, in order to overcome this challenge there are cross-platform frameworks like React Native, Flutter, etc… Some of the benefits of using cross-platform frameworks are as follows:
- Single codebase for both platforms
- Less learning time
- Low development cost to build the application
- Faster development of application
- Uniform design
What makes Expo the best combination for React Native application development?
Expo is a free and open-source tool for developing mobile applications with react native. Some of the reasons why it is best for react native application development are as follows:
- It provides a hot reloading feature, you do not have to reload your app to see the changes that you make in the codebase
- It provides access to native APIs like cameras, maps, etc…
- It is easy to set up the development environment
NodeJS for React Native
NodeJS is a cross-platform free open-source server for running javascript. Since React Native is a framework of javascript that makes NodeJS perfect for our mobile application development. The npm is the package manager which stands for Node Package Manager. You can use the npm command to install javascript packages/modules/libraries. The node is the command to run the javascript file. If you have the file called app.js then you can use the command “node app.js” to run that file. The npx is the command line tool that allows you to run the packages without the need to install them globally. In our React Native mobile app development we will be making use of npm and npx commands frequently. The command to install and uninstall the package using npm is given below. Make sure you replace the package_name with the name of the package that you want to install.
npm install package_name
npm uninstall package_name
Understanding the default project directory
- App.js is the main file that gets called when you run your project. Basically, it is the entry point for your app.
- app.json file contains the configuration of your project.
- assets folder contains the images and other assets you might use for your project.
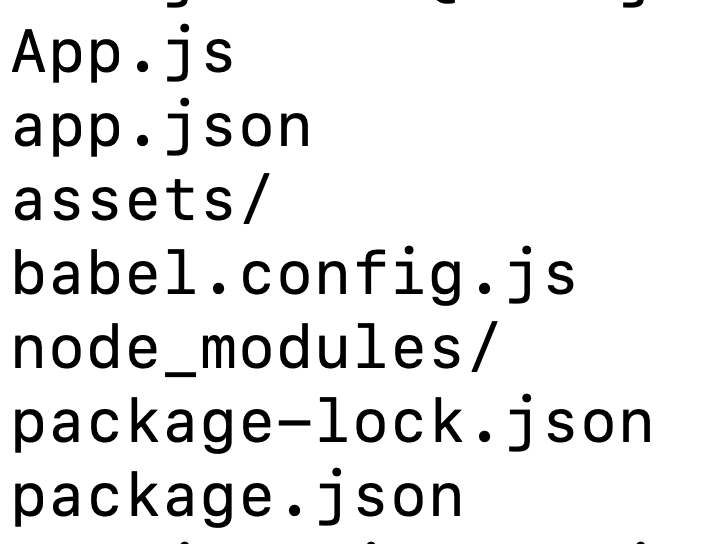
- babel.config.js file is the configuration file for the babel compiler which handles backward compatibility of javascript code.
- node_modules folder contains the dependencies of your project.
- package-lock.json contains the complete dependencies record that you have used in the project.
- package.json file contains the name of the dependencies and metadata of your project.
You can customize your app through the App.js file. You can create and use multiple folders and files inside the project directory. But remember the entry point of your code is App.js and the rest of the code files should be linked through this file.
Conclusion
The steps that I have mentioned are one way to get started with developing a cross-platform React Native application. There are other ways to do it as well. The fact that the Expo makes the development of mobile applications easy is the reason that I choose to use it this way. You can also check the React Native official website to get started.

I am an enthusiastic tech guy. Ever ready to learn new technology. I love building software solutions that can help mankind to solve problems.
You can support us by:
- Becoming a patron at https://www.patreon.com/drukinfotech
- Buy me coffee at https://www.buymeacoffee.com/drukinfotech